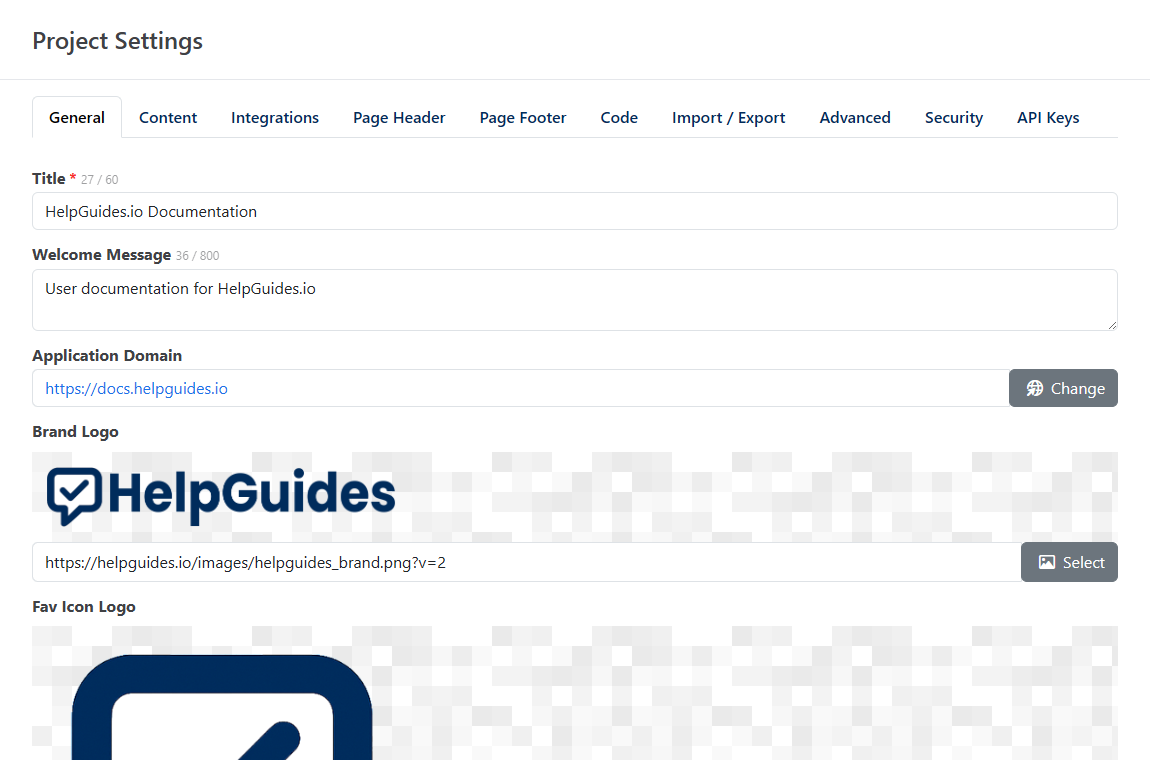
Each project has its own settings for branding, content defaults, integrations, custom code and more. To open them, select your project and click Settings in the left navigation. The Project Settings page is split into tabs.
New to HelpGuides? Start with Welcome to HelpGuides.io, then come back here to finish setting up your project.
The General tab controls how your project looks and whether search engines can index it. Click Update to save your changes. The logo and favicon save as soon as you upload them.
| Setting | What it does |
|---|---|
| Title | The name of your site, up to 60 characters. It's required. |
| Welcome Message | A short message, up to 800 characters, shown at the root of your documentation. |
| Application Domain | The address your project is published at, for example yourproject.helpguides.io. Click the link to open your site. |
| Brand Logo | The logo shown on your site. |
| Fav Icon Logo | The small icon browsers show in the tab. |
| Primary Color | Your brand color. HelpGuides also uses it to tint this project's sidebar in the admin, which helps you tell projects apart. |
| Default Post Type | The type used for new posts: Article, API Reference or Blog Post. |
| Allow Search Engine Indexing | When on, search engines may index your content. When off, your site's robots.txt tells crawlers not to index anything. |
Allow Search Engine Indexing is off when you create a project, so you can set it up before it's public. Turn it on when you're ready to launch. robots.txt is cached, so the change can take up to three hours to show there. See Bing Webmaster Tools for submitting your sitemap.
Every project gets a helpguides.io subdomain based on the project's name. Next to Application Domain, Change opens the Change subdomain or add a custom domain dialog, which has a Subdomain field and a Custom domain field.
At the moment, changes made in this dialog aren't saved. To change your subdomain or publish your project on your own domain, contact support. If you want your documentation to appear under a path on your existing website, for example example.com/docs, see Setup Reverse Proxy.
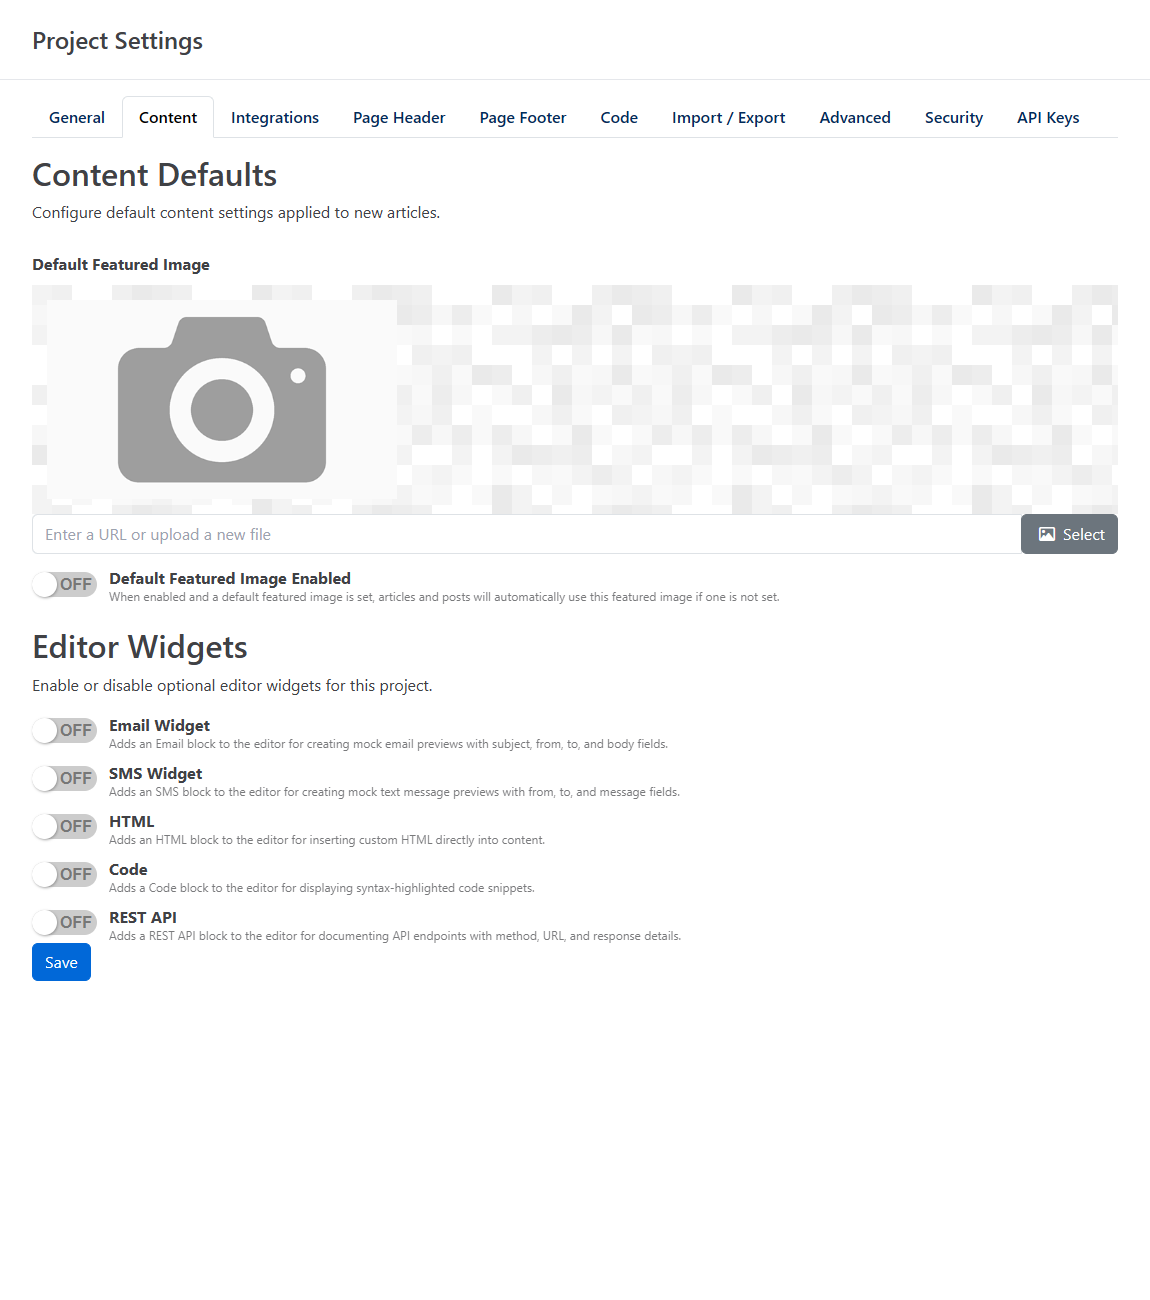
The Content tab sets defaults for new articles and chooses which optional blocks appear in the editor. Click Save to apply your changes.
These optional blocks are off by default. Turn on the ones your team needs and they appear in the editor's block menu.
| Widget | Adds |
|---|---|
| Email Widget | An Email block for mock email previews with subject, from, to and body fields. |
| SMS Widget | An SMS block for mock text message previews with from, to and message fields. |
| HTML | An HTML block for inserting custom HTML directly into content. |
| Code | A Code block for syntax-highlighted code snippets. |
| REST API | A REST API block for documenting API endpoints with method, URL and response details. |
For what each block does and how to use it, see the Editor Blocks Reference.
The Integrations tab connects HelpGuides with other applications.
G-XXXXXXXXXX, and click Save. HelpGuides adds the Google tag to your published pages./helpguides or by mentioning @HelpGuides. Once connected, you choose a Notification Channel and whether to Notify on updates. See Connecting Slack for the full setup.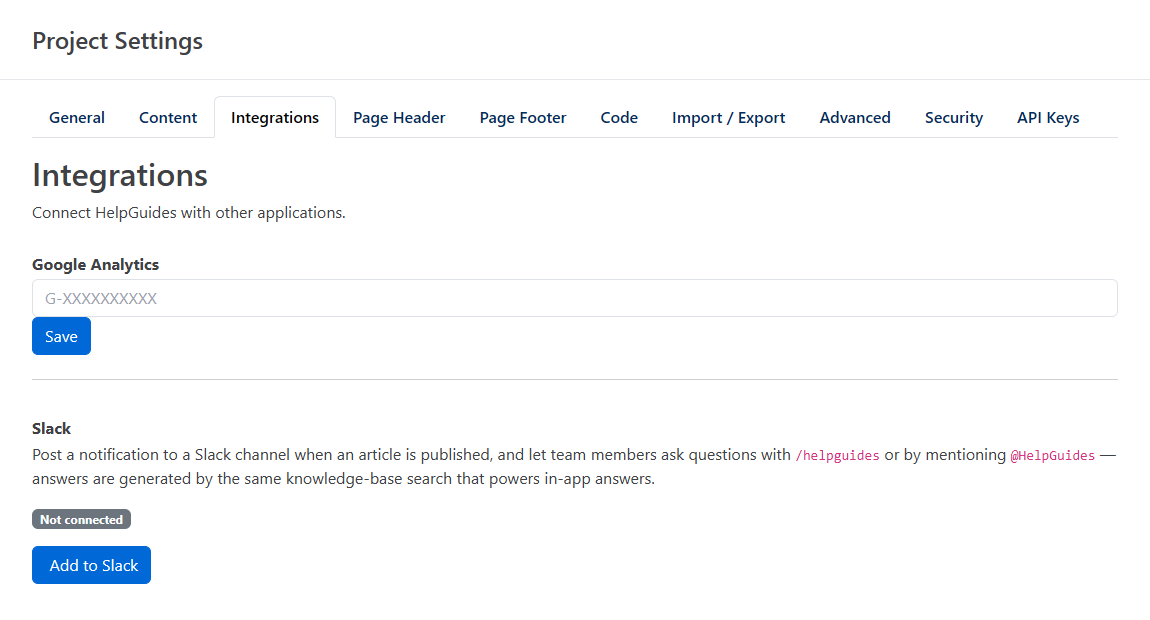
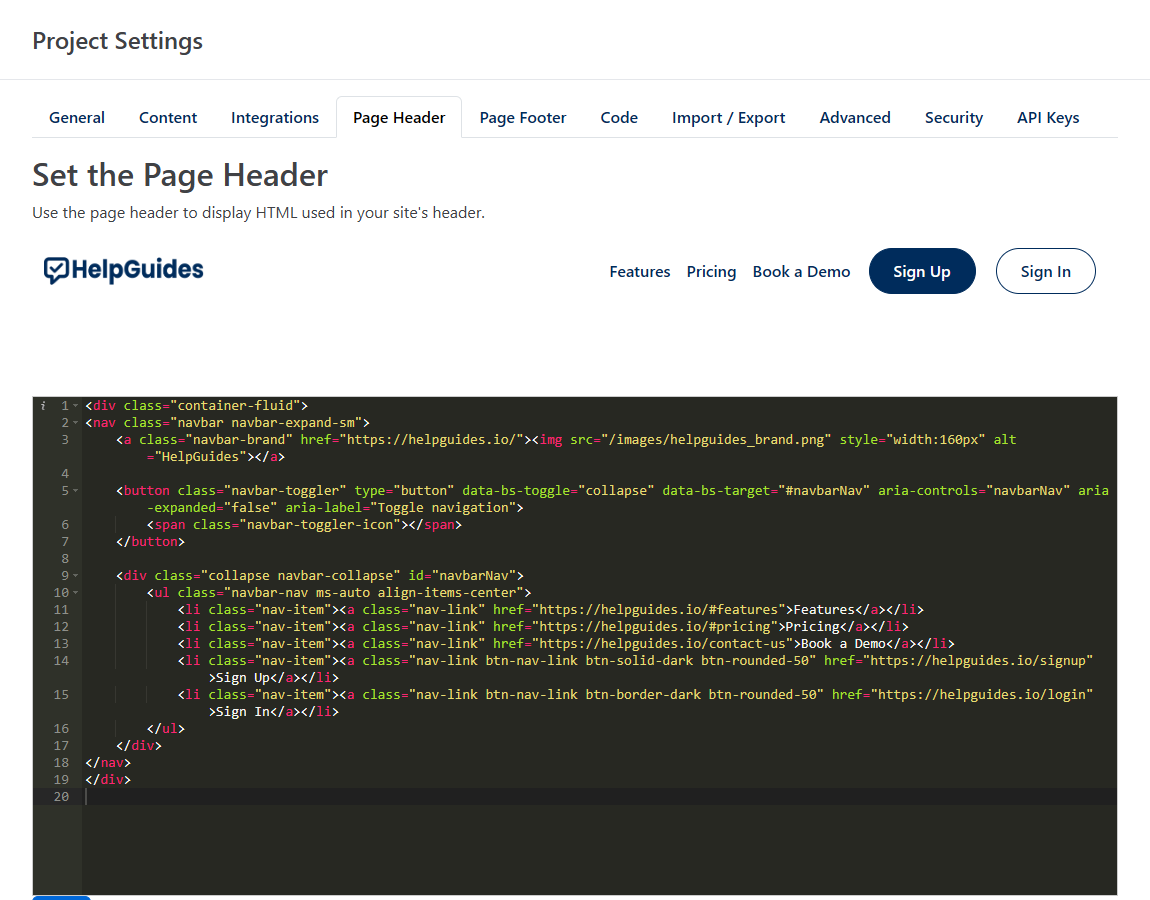
Use the Page Header and Page Footer tabs to add your own HTML to the top and bottom of every page on your site, for example your company's navigation bar, links back to your main website, or a copyright notice.
The Code tab adds custom CSS and JavaScript to every page on your site. Both editors take HTML tags, not bare code. Click Save to apply both.
| Editor | What to enter | Where it's added |
|---|---|---|
| CSS | <style> blocks, or <link rel="stylesheet"> tags that load a .css file | The page <head> |
| JavaScript | <script> blocks, or <script src="..."></script> tags that load a .js file | The end of the page |
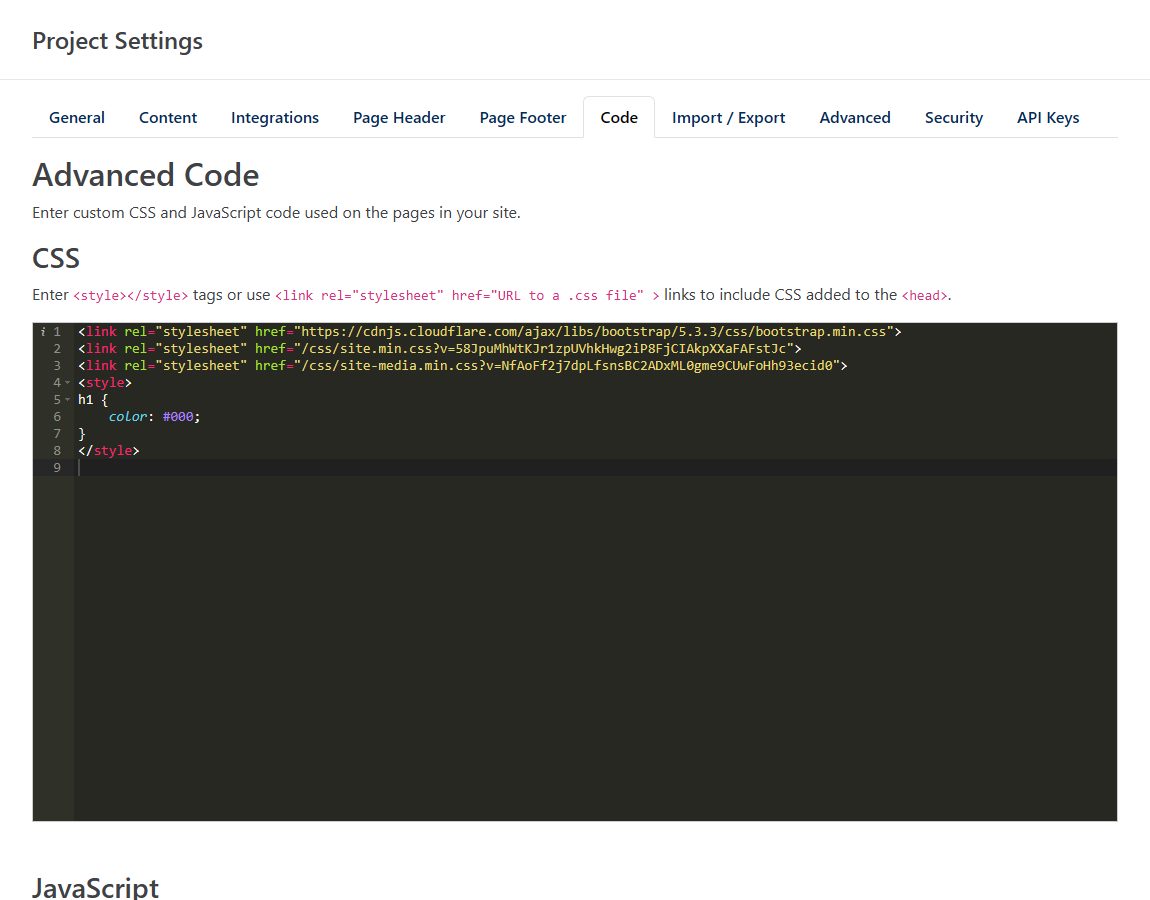
New projects start with a Bootstrap stylesheet link in the CSS editor. If you remove it, your header and footer HTML may lose styling that depends on it.
The Import / Export tab backs up all of your posts as a .zip file and imports content from HubSpot and HelpDocs. See Importing and Exporting Content.
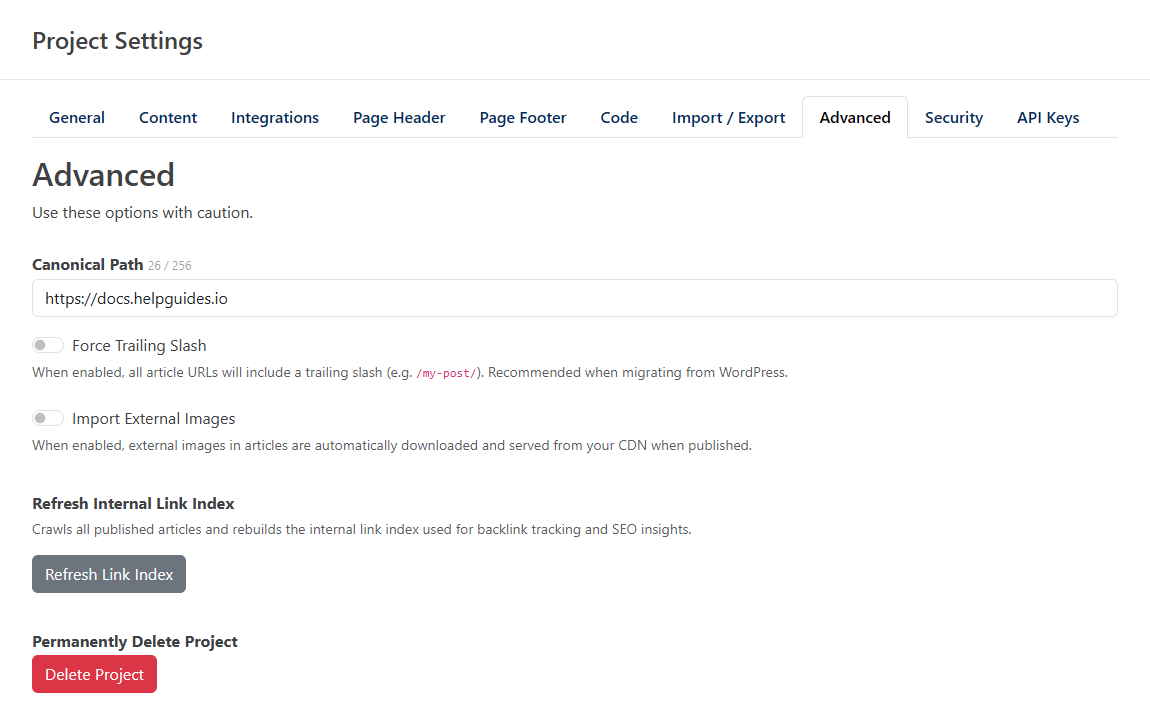
The Advanced tab holds settings that change how your whole site behaves. Use them with caution. The two switches save as soon as you change them.
| Setting | What it does |
|---|---|
| Canonical Path | The address search engines treat as the real home of your content. When you serve your documentation through a reverse proxy, this is your own domain and path, for example https://example.com/docs. Contact support to set or change it. See Setup Reverse Proxy. |
| Force Trailing Slash | When on, every article URL ends with a slash, for example /my-post/. Turn this on when you migrate from WordPress so your existing URLs keep working. |
| Import External Images | When on, images in articles that are hosted elsewhere are downloaded and served from the HelpGuides CDN when the article is saved. If a download fails, the original image URL is kept. |
| Refresh Internal Link Index | Click Refresh Link Index to crawl all published articles and rebuild the index of links between them, which the backlink tracking and SEO reports use. It runs in the background and can take a few minutes. |
| Permanently Delete Project | Click Delete Project to delete the project. See below. |
A deleted project is scheduled to be permanently deleted. Until then, anyone on your team can open it from All Projects and click Reactivate Project. See Managing Projects.
The API Keys tab creates keys for the HelpGuides REST API. Each key has a name and a set of permissions. See API Keys and the REST API.
Some project settings live on their own pages in the left navigation. AI Settings includes the switch for your project's Model Context Protocol (MCP) server; see Model Context Protocol. Settings for the chat messenger are in Inbox; see Setting Up Chat.