Broken links frustrate readers and hurt your search rankings. The SEO page crawls your published site and lists every link that doesn't work, plus every link that points to another website. This article also covers the settings that control how search engines index your site.
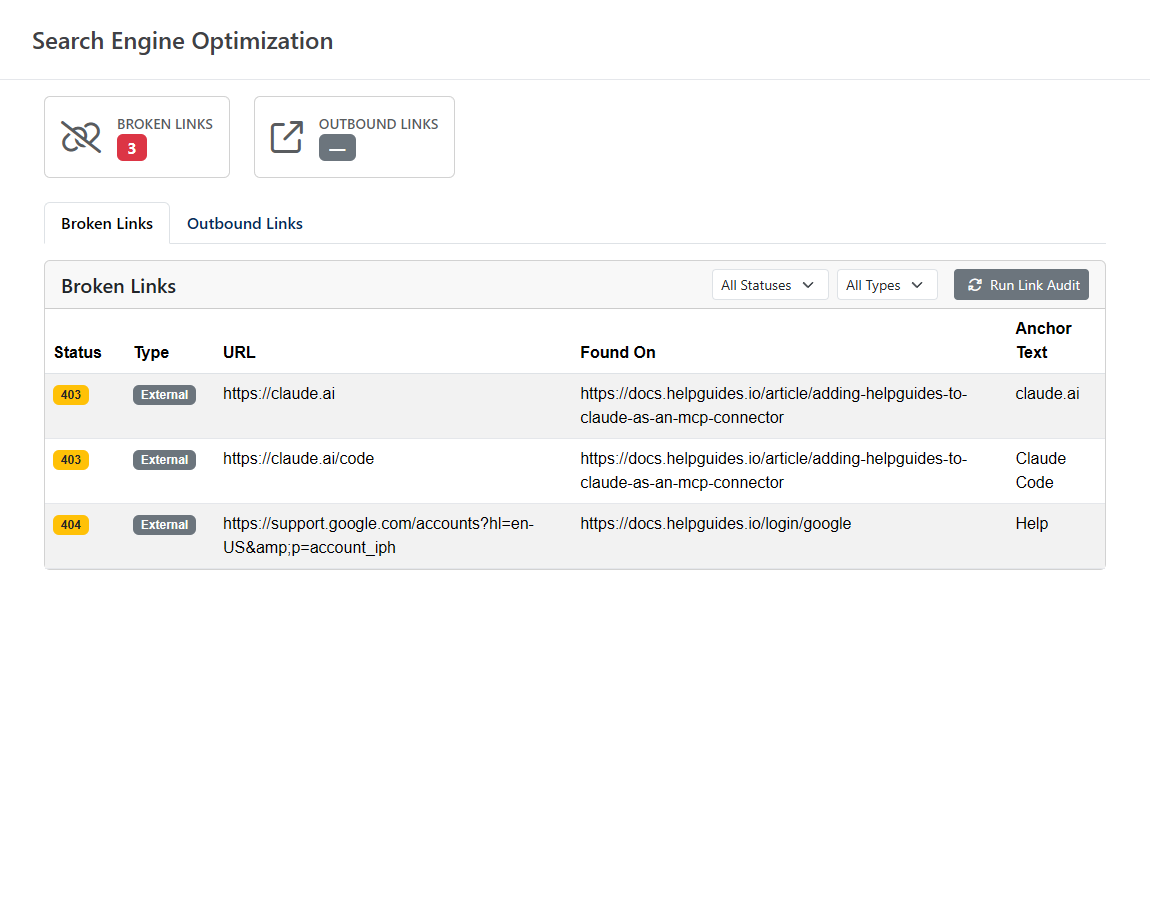
Click SEO in the left navigation. The page is titled Search Engine Optimization and has two tabs: Broken Links and Outbound Links. The results come from the most recent link audit.
On the Broken Links tab, click Run Link Audit. You'll see Audit queued. Broken links will update when the crawl completes. The crawl runs in the background and usually finishes within a few minutes, depending on the size of your site. Reload the page to see the new results.
The audit starts from your site's sitemap.xml, visits every published article, and checks every link it finds. A link counts as broken when it doesn't return a successful response, times out after 15 seconds, or fails to connect. Each audit replaces the previous results.
Settings → Advanced → Refresh Internal Link Index runs the same crawl. Click Refresh Link Index there after a large reorganization. The crawl also rebuilds the index of which articles link to which, used for backlink tracking in the editor.
The tab shows how many broken links were found, then lists them with links on your own site first:
| Column | Shows |
|---|---|
| Status | The HTTP status code the link returned, such as 404 or 500. Error means there was no response; hover over it to see why |
| Type | Internal for links to your own site, External for links to other sites |
| URL | The broken link |
| Found On | The page that contains the link |
| Anchor Text | The linked text on that page |
Click any URL, page or anchor text to copy it. Use the All Statuses menu to show one status code, and the All Types menu to show only Internal or External links. When nothing is broken, the tab shows No broken links found.
If an internal link is broken because an article moved or was deleted, you can add a redirect from the old URL instead of editing every page that links to it. See Redirects and Page Not Found Reports.
This tab lists every link from your site to another website, one row for each page that contains it. It loads when you select the tab.
| Column | Shows |
|---|---|
| Domain | The website the link points to |
| URL | The full link |
| From | The page on your site that contains the link |
| Keyword | The linked text |
| Follow | Whether search engines follow the link. Links marked rel="nofollow" show as not followed |
| Status | The HTTP status code the link returned |
Type in Filter by domain... to find links to a particular site, and click any column heading to sort. Use this tab to review which sites you link to and how often.
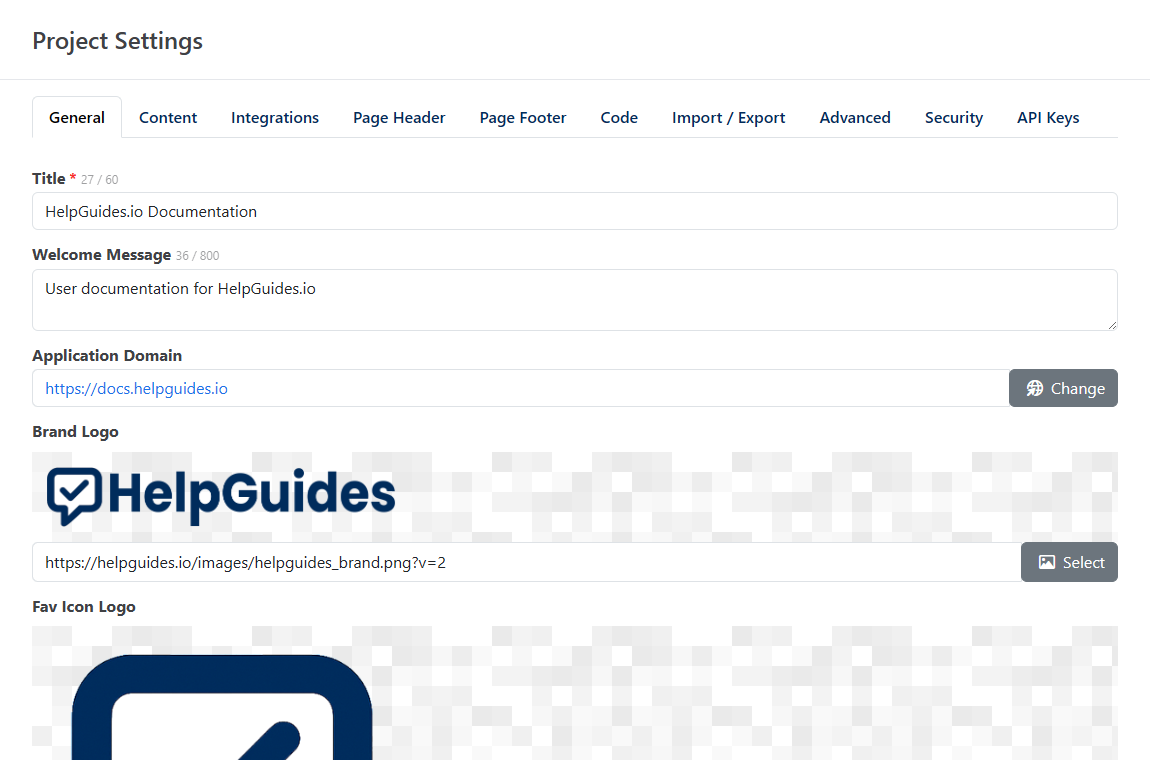
Go to Settings → General and use Allow Search Engine Indexing, then click Update. It's off for new projects, so you can build your site before search engines find it. While it's off, your robots.txt disallows every page. Turn it on when you're ready to launch. Private projects are never indexed, whatever this setting says.
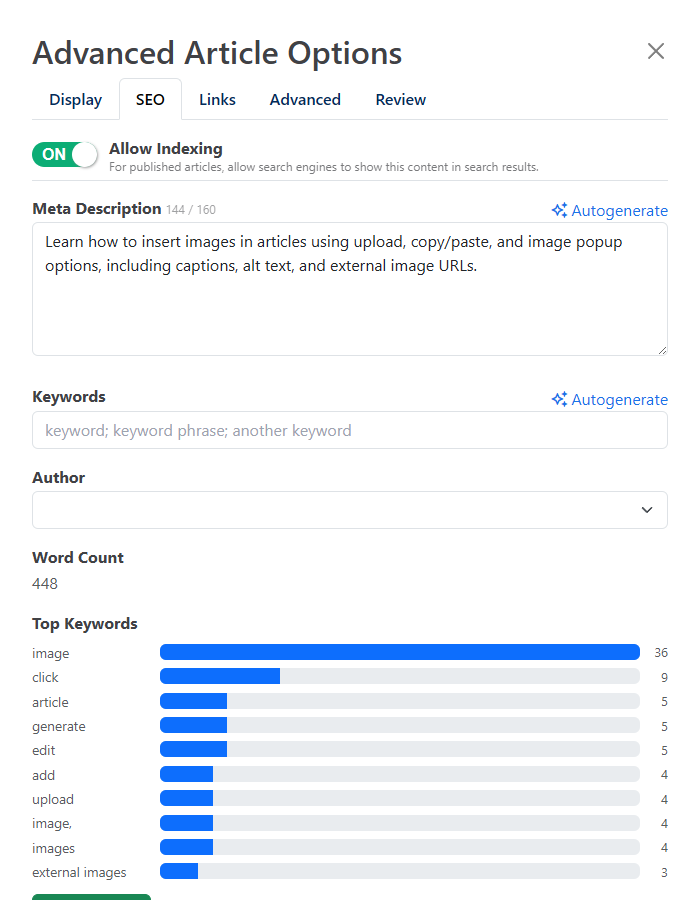
The article gets a noindex, nofollow robots tag, so search engines leave it out of their results. The option only appears for published articles; drafts, unlisted and scheduled articles always carry the noindex tag. The SEO tab is also where you set the article's Meta Description and Keywords.
By default, article URLs have no trailing slash, for example /article/my-post, and requests for /article/my-post/ are permanently redirected to it.
If you're moving from WordPress, your existing URLs probably end in a slash. Go to Settings → Advanced and turn on Force Trailing Slash. The change saves immediately. Article URLs then end in a slash, the version without the slash redirects to it, and your canonical tags, sitemap and feeds use the slash form. This keeps your old URLs and their search rankings intact.
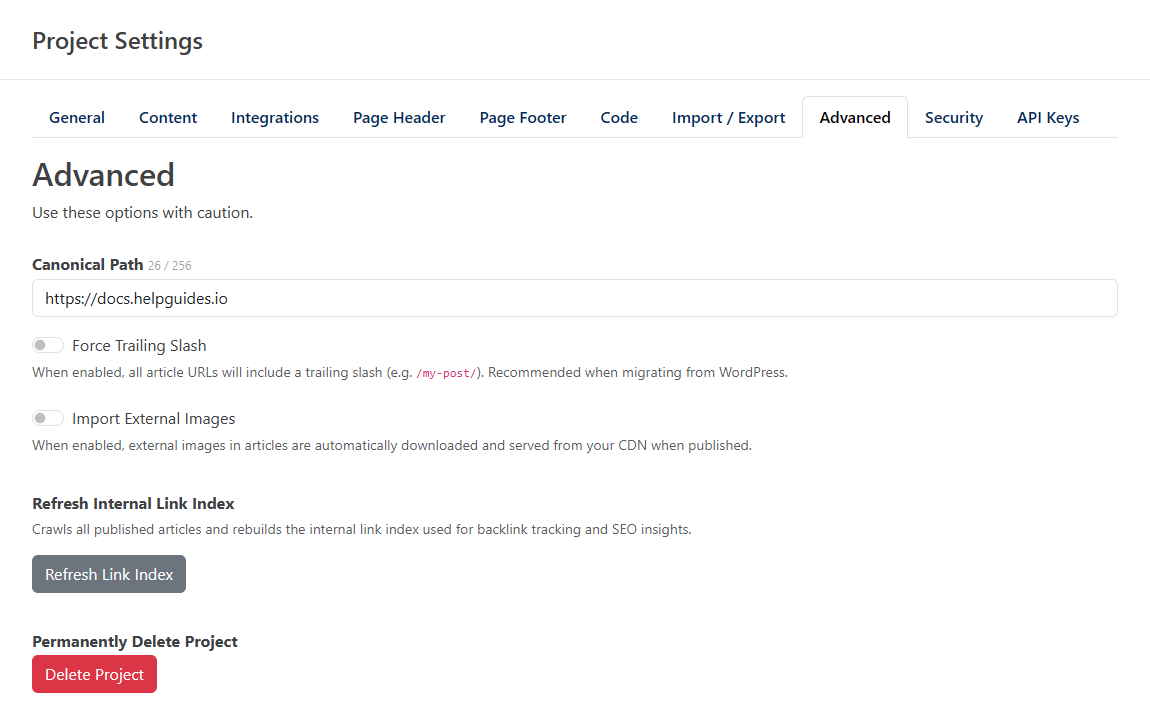
Changing this setting on an established site changes every article's canonical URL. Search engines follow the redirects, but it takes time for them to settle.