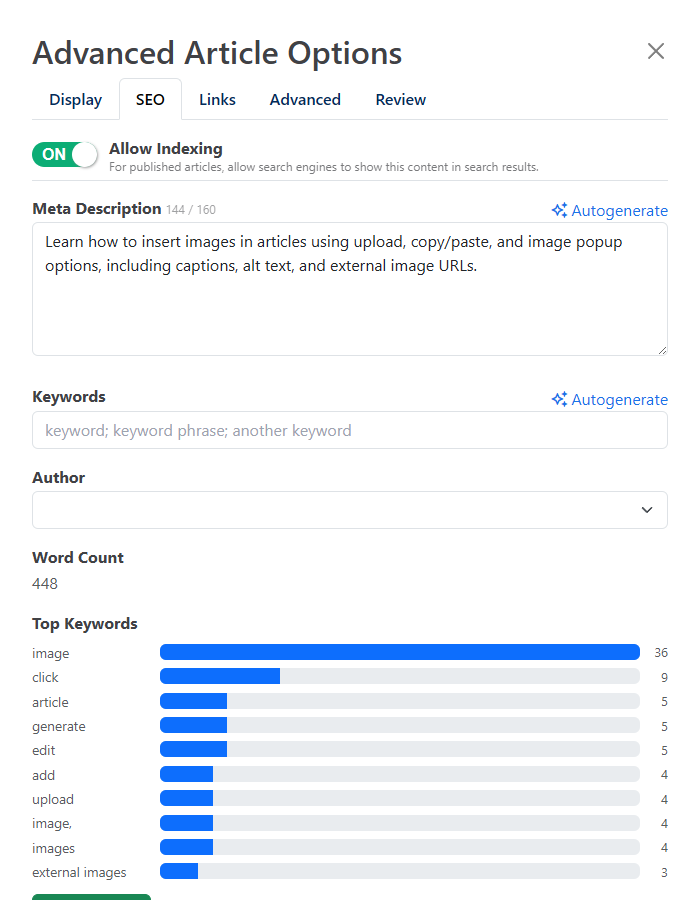
Authors let you credit the people who write your content. Each author gets a public profile page listing their articles, with structured data that helps search engines connect the content to a real person.
Click Authors in the left navigation. The page lists every user in your HelpGuides account. Each author is linked to one of these users.
| Column | Shows |
|---|---|
| User | The user's name in HelpGuides |
| Author Name | The name shown publicly, if the user is set up as an author |
| Author URL | The author's website, if set |
| Status | Author if the user is set up as an author for this project, otherwise Not configured |
Authors are set up per project, so the same person can have a different profile in each project.
| Field | Used for |
|---|---|
| Author Name | The name shown on articles and on the author page. It also sets the author page URL |
| Author URL | A link to the author's own site or profile, shown as Website on the author page |
| Author Photo | A headshot shown on the author page |
| Bio | A short biography shown on the author page and used as its meta description |
| Shown as an Email link on the author page | |
| LinkedIn URL, Facebook URL, Twitter URL | Shown as social icons on the author page |
All fields except Author Name are optional, and anything you leave blank is left off the author page. The email address is public, so only add one you're happy for readers to see.
To change an author later, click Edit on their row, make your changes and click Save. To stop crediting someone, click Edit, then Remove Author and confirm. The user keeps their HelpGuides access.
To remove the credit, choose No author selected.
On blog posts, the author appears under the title as Written by: with a link to their author page, and in the post's BlogPosting structured data. See Blog Projects.
Every author has a page on your site at /author/ followed by their name in lowercase with spaces replaced by hyphens. For example:
The page shows the author's photo, name, bio and links, followed by Articles by and a grid of their published articles, newest first.
Renaming an author changes their URLBecause the URL comes from the Author Name, changing the name changes the page address and the old address shows the 404 page. Add a redirect from the old address if it's been shared. See Redirects and Page Not Found Reports.
The author page includes ProfilePage structured data describing the author as a Person, with their name and, when set, their URL, photo and bio. Search engines use this to associate the author with their work. For example:
See Structured Data for the other schema HelpGuides adds to your pages.